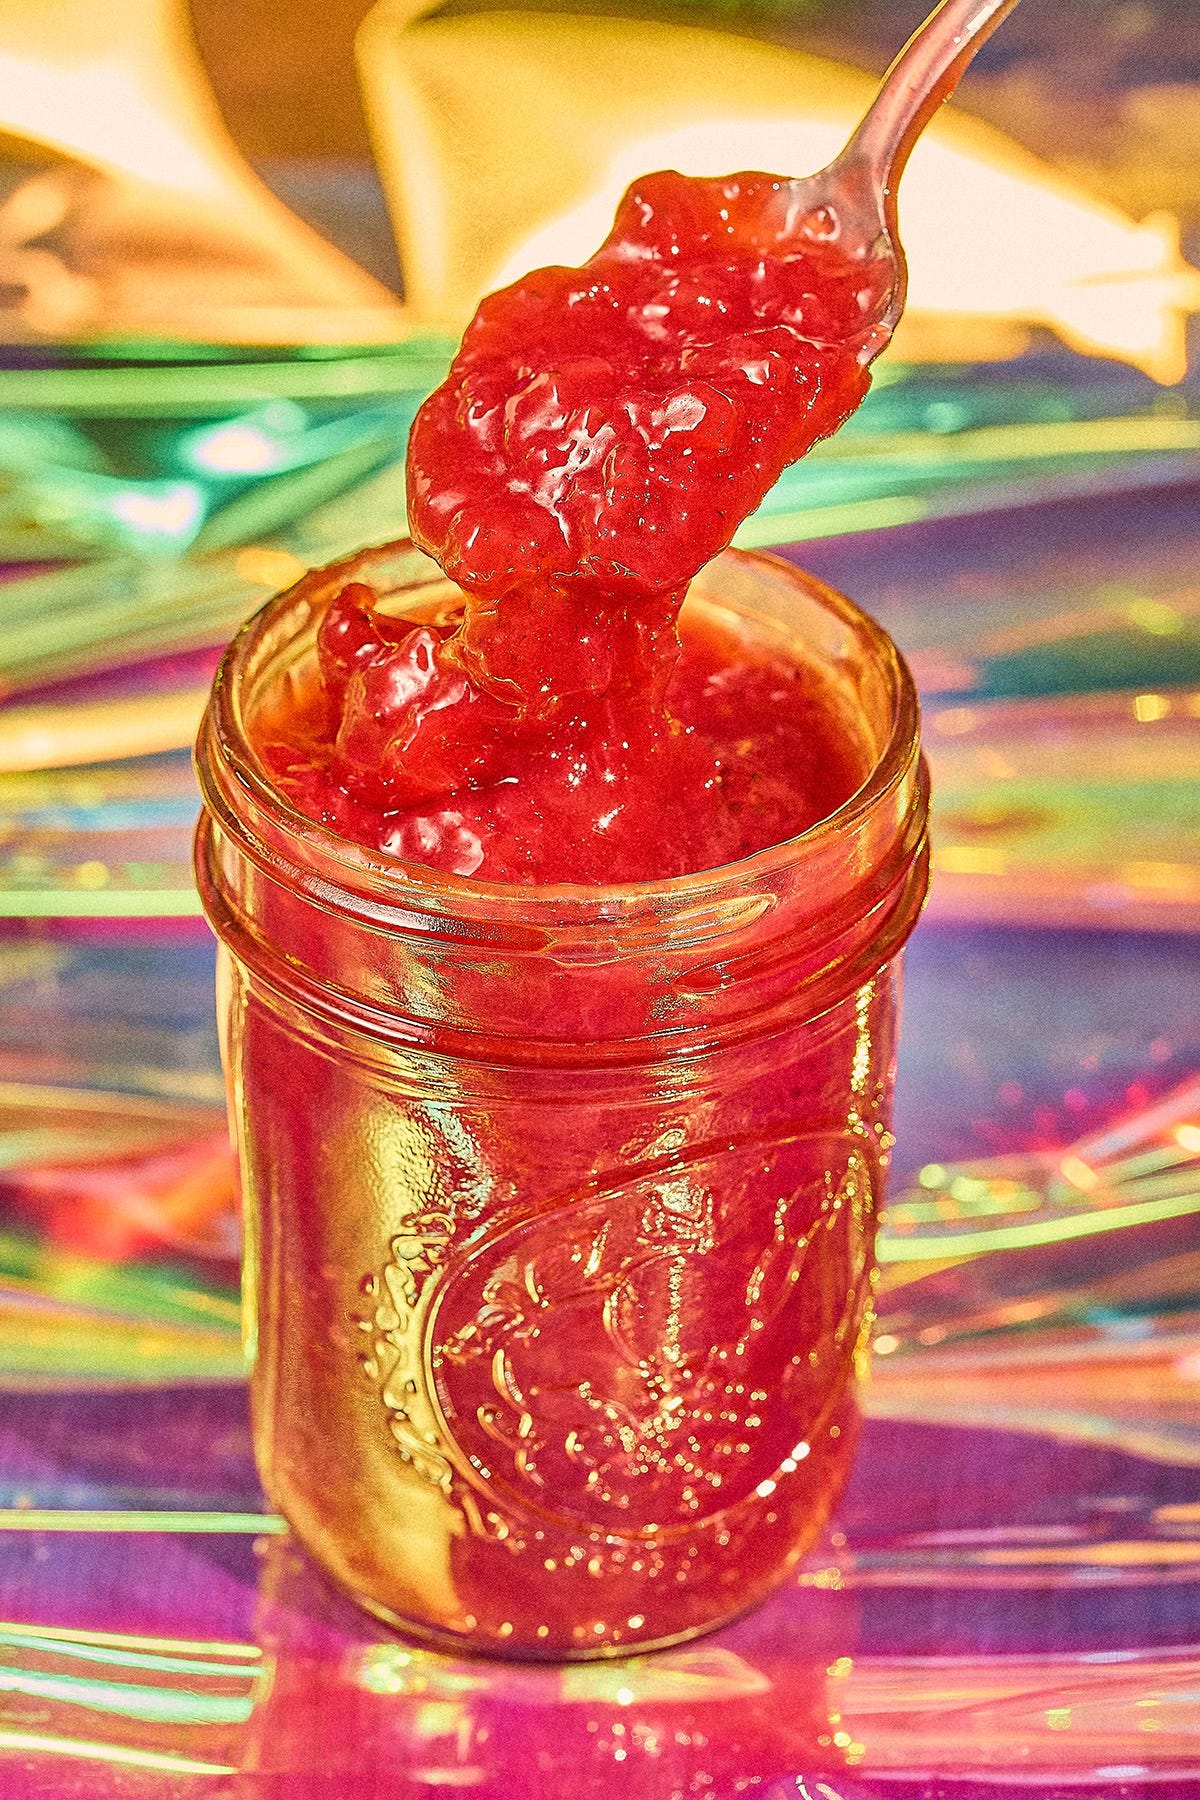
Strawberry Jam
A 30 minute refrigerator jam with no canning required. It's a nice way to brighten up a dull, cold winter.

To view the full version of this post visit the link: Easy Strawberry Jam Recipe And for more recipes like this be sure to check out the site at www.mosthungry.com
Nothing brightens up a dull, cold winter quite like fresh strawberry jam—am I right? Jam-making is a relatively new adventure for me. I first started with a blackberry jam, then moved on to one of my favorites last summer: a sweet and savory sungold tomato jam. And now? I’m fully on the jam-making train. All in.
If you haven’t made jam before and you’re anything like I was, trust me—it’s much easier than you’d think. And the flavor? Pretty exceptional.
This is what I’d call a refrigerator jam—meaning it’s not preserved or properly canned for long-term storage. You’ll need to stash it in the fridge and enjoy it within three weeks. Or, if you want to make it last longer, freeze it, and it’ll keep for up to a year.
This jam falls somewhere between a freezer jam and a true preserve. It doesn’t have the sugar content of a traditional preserve, nor is it fully cooked and canned. But since it simmers for about 30 minutes, it doesn’t quite qualify as a true freezer jam either. The result? A jam with a beautifully fresh fruit flavor, like an uncooked freezer jam, but with a bit more depth.
Equipment
Thermometer - highly recommended, but optional
Ingredients
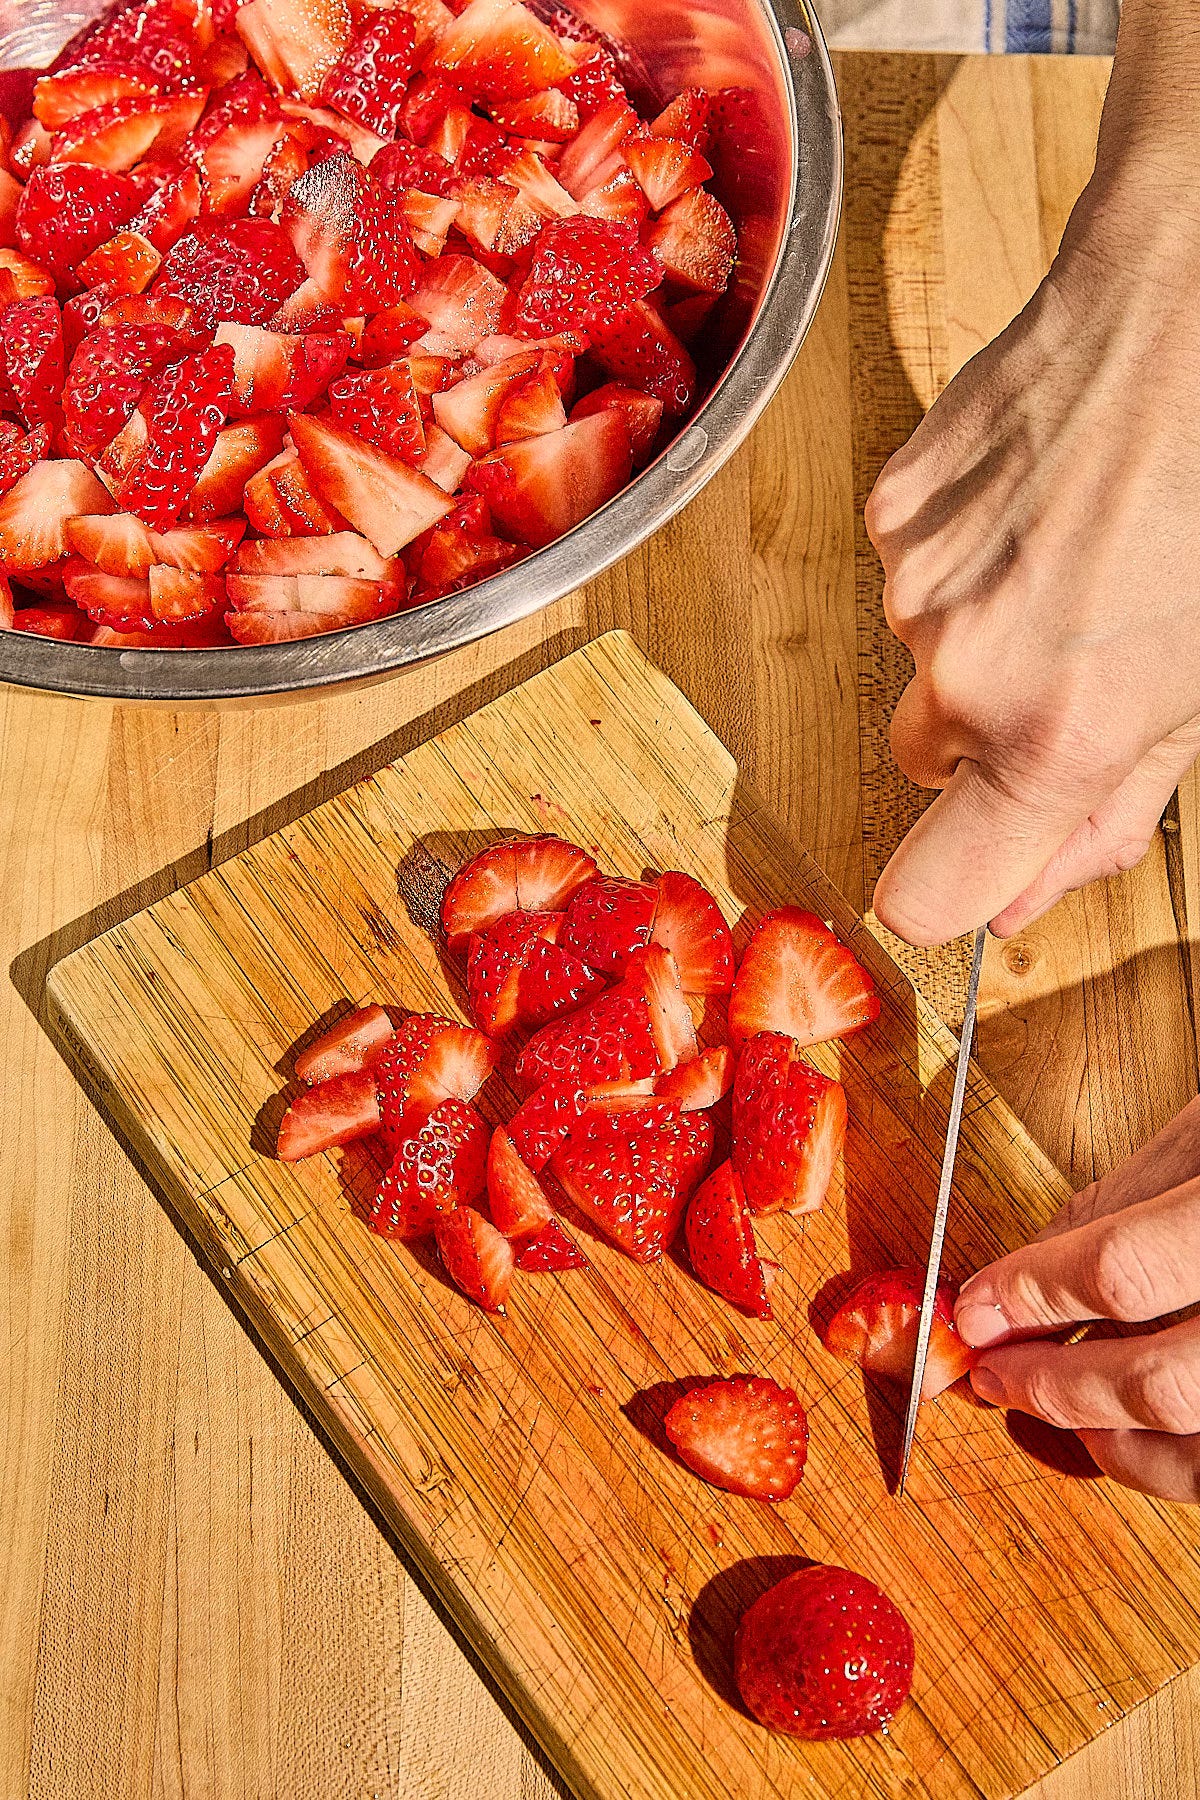
1450 g strawberries ~3 lbs, washed, hulled, and roughly diced
435 g sugar 30% of the weight of the strawberries
1 tbsp butter
2 tsp lemon juice
pinch of salt
Instructions
Wash, hull, and roughly dice the strawberries.
Add the strawberries and sugar to a large pot, stir to combine, and bring to a boil over medium-high heat.
As the mixture boils, it will start to foam up. Add the butter to help reduce any foaming and prevent the jam from boiling over onto your stovetop.
Boil the jam for about 30 minutes, stir occasionally. As it thickens and the water cooks off, the bubbling will slow down, and the color will darken to a deep red.
Check if Your Jam Is Done:
If using a thermometer - The jam is ready when it reaches 217–220°F.
If you don’t have a thermometer - Use the plate test: Place a small plate in the freezer to get nice and cold. Spoon a little jam onto the chilled plate and let it cool for a few seconds. Push it with your finger—if it wrinkles slightly and holds its shape, it’s done. If not, keep boiling another 5–10 minute and test again if you need to. (Cooking time will vary depending on batch size.)
Remove jam from heat and stir in a pinch of salt and the lemon juice. This step is optional but highly recommended—the salt enhances the flavor, and the acid brightens up the jam.
Let the jam cool slightly until safe to handle. Carefully transfer it into jars and let it cool to room temperature before storing.
Notes:
To Store Homemade Jam: Keep it in the fridge for 3 weeks or freeze for up to a year. This is not a shelf-stable, canned jam.
Did you make this recipe!
Let me know! Leave a comment with your thoughts or share your version on Instagram by tagging @TheMostHungry. I can’t wait to see it!
Subscribing to Most Hungry is totally free. And if you enjoyed this post, you can support me with a paid subscription.


